Monday, February 27, 2012

A win and a fail

I can't believe I waited this long to try out Studio M's Purple Medallion...


This is probably their most unique non-color club-dupe they have.  It's like Magic Attraction with a raspberry tinted base.  This is 2 coats.


I think this second photo is more accurate colour-wise.  I stamped it with konad plates m2 for the flowers and m5 for the dragonfly using Billie French White.


I found that the lights in my basement really made the holo glitter pop.  Love it.

So when I did this mani I decided to try Gelous for the first time.  One of the reasons I don't wear glitter often is because it takes several top coats to take away the gritty feel.  I had read several girls suggested using Gelous so I picked some up at Sally's for around $7.  I used one coat over the glitter and topped it with Seche Vite.  Half an hour later I noticed the surface was still gritty so I added another coat of Seche Vite.  Guess what?  STILL not completely smooth.  Not impressed with Gelous girls!

Later
P

Friday, February 24, 2012

A couple more quickies

This is 2 coats of the Billie Blue I picked up a couple weeks ago.


The satin finish just wasn't doing it for me so I decided to layer over it.


It's much better with Sallly Hansen HD in Spectrum layered over it.


And here's a little something I tried over my Gelish Bella's Vampire mani.  It's China Glaze's Fireside Glow sponged on the tips and then a coat of China Glaze's Fairy Dust over the whole nail.  Neither manicure stayed on for long.  I gotta get back into the nail art again.

Later
P

Wednesday, February 22, 2012

Some layering combos

So my posts are a bit messed up at the moment but bear with me please.  We're going back to my Red Carpet Manicure in Midnight Affair.


This is probably my favourite colour of all the SOG's I've tried so far.  I didn't do much in terms of nail art while I wore this, but I did a bit of layering and painted over it a few times.


Going backwards now haha, this is the last polish I wore over it - Sally Hansen Glass Slipper.  I didn't use a base and the flakies ended up sticking to the gel.  I knew better but did it anyways.


But before that, I'd picked up China Glaze's Gothic Lolita from the new collection and this is 2 coats.  I wasn't going to pick up any of the new ones as I find none of them are unique at all, but I did end up picking up two of them while I was at Sally's for some unknown reason.  This colour has a bit of hidden shimmer but I wasn't really a fan of it so I decided to try and pump it up:


It's much better with a coat of Sally Hansen HD in LCD.  Still not entirely satisfied with it though.  I will most likely franken it I think.

Later
P

Monday, February 20, 2012

Concert nails

I've been slacking on the nail art lately and have also been a little behind in my posting schedule.  2 weeks ago I went to see Megadeth again (along with Motorhead) and decided add a little bit of bling...literally:


I picked up these stickers on clearance at Sally's a long time ago and never tried them until now.


Just an accent over my Gelish Bella's Vampire SOG.  I could never wear this design as a full manicure but I really liked this design.  I thought it would look like little diamonds but it actually came out looking like studs which is way cooler and perfect for the metal show.  Application was super easy, just stick them on and file off the edges.  They stayed on for a few days too.  I wish I'd picked up a couple packs, very nice.

And of course the obligatory shot of Dave...


Almost caught a drum stick this time, dammit!

Later
P

Saturday, February 18, 2012

Soak off Gel Tutorial

I've had a couple of requests for this post so I'm going to compose this much like my resin ring tutorial.  I'll start by saying that I am a DIYer so I don't claim to be an expert and this tutorial is strictly how I do my own nails and this is the method that works best for me.

What I use:

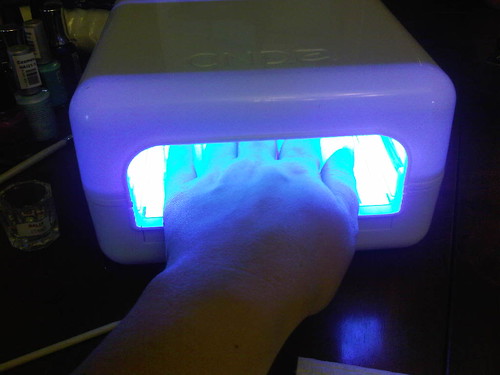
36 Watt 4-bulb UV lamp
Shellac Base Coat
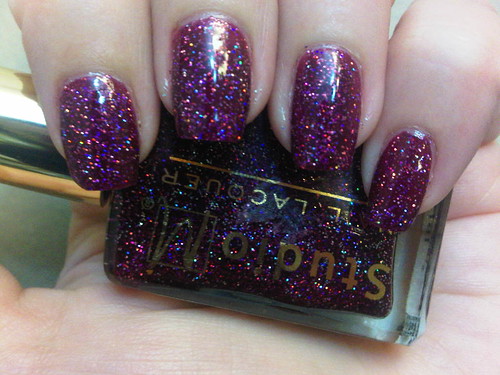
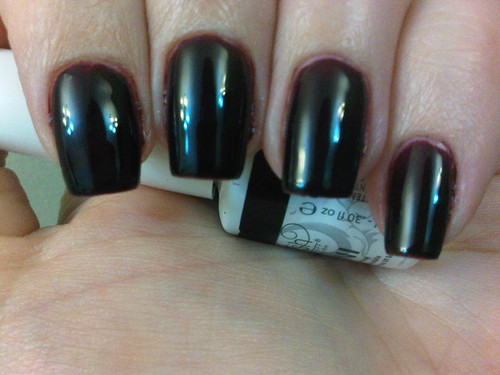
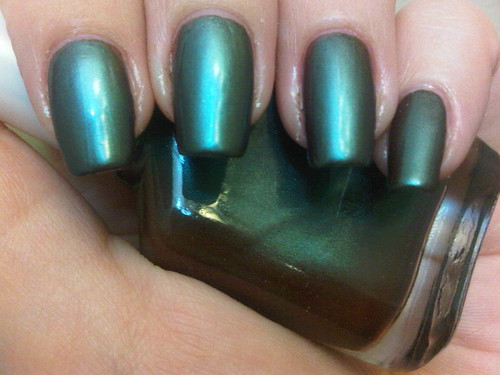
Soak off Gel polish in any colour or brand you choose (I'm using Gelish in Bella's Vampire)
Gelish Top It Off
Isopropyl Alcohol (99% not 70%)
Pure Acetone
Lint free pads
Dappen pot or small dish
Eyeliner brush
Tinfoil
Cotton balls

From start to finish, this manicure will take about an hour and half in total.


Prep:
Hands must be clean and dry.  Do not put your hands in water for a good 30-60 mins before the manicure.

Make sure your cuticles are pushed back and your nails are clean as you would normally before a manicure.


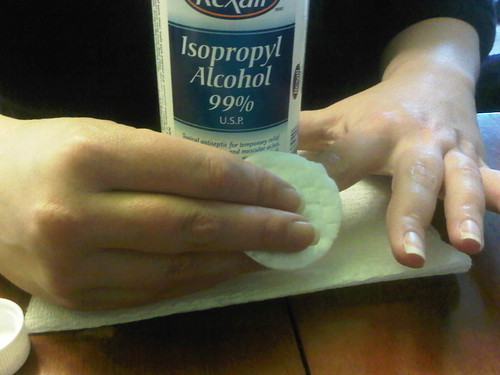
Take a lint free pad soaked with Isopropyl Alcohol and scrub your nails on one hand. **VERY IMPORTANT - After this step do not touch anything with this hand!  That means don't even scratch an itch or brush your hair from your face.  Any dirt/oil that gets on your nails will compromise the manicure.  This is why you should always do one hand at a time.


The Gel Manicure:
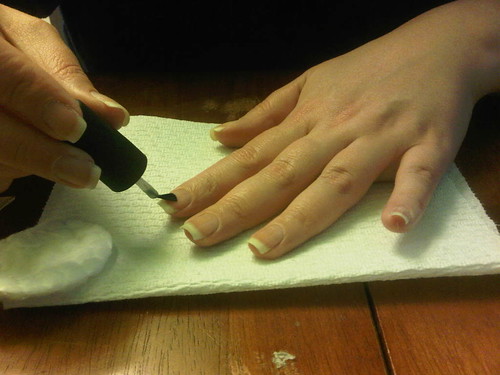
Shake the bottle of Shellac Base Coat well.  Wipe virtually all of the Base Coat from the brush (trust me on this, there is plenty of Base Coat left to do all 5 nails).  Apply Base Coat to each nail.  You need the thinnest possible layer you can manage.  I generally scrub the semi-dry brush into the nail.  As long as you see a bit of shiny Base Coat covering the nail you're good.  The Shellac self-levels.  Cap the edges of your nails with the same brush.


Fill a dappen pot or small bowl with a bit of Isopropyl Alcohol.  Use it along with the eyeliner brush to remove any Base Coat from your cuticles and fingers.  I cheated here and took the photo after my first coat of colour.  I don't normally have to do this step on the base coat since the polish is so minimal that I don't usually get any on my skin. 


Put your hand under the UV lamp and cure for 10 seconds.  Do not touch your nails.  They will still appear wet.  Always make sure your gel polish bottles are closed tightly and moved away from the UV light.


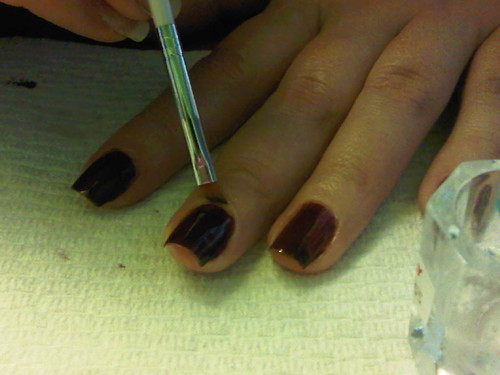
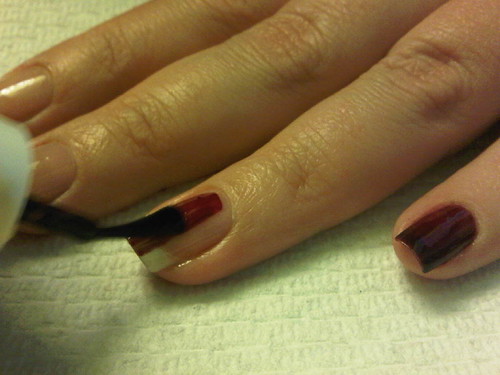
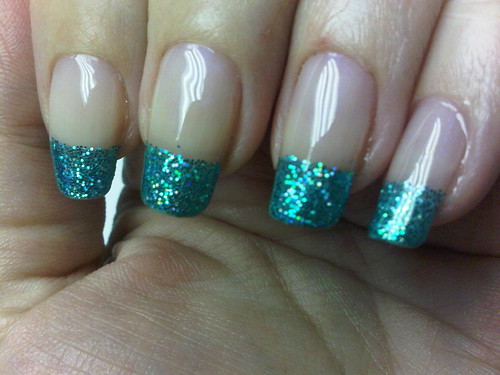
Take your colour of choice and apply a thin layer to each nail.  It's not necessary to shake the bottle unless it states this on the bottle.  Shellac is the only brand I've used that requires shaking.  For this coat you don't need to use a semi-dry brush like the Base Coat, but use a very thin coat of colour.  Cap the edges and clean up any excess with alcohol like before.  Gel polishes don't start to harden up like regular polish does so it's easy to fix little nicks and imperfections with your polish brush.


Place your hand under the UV lamp, always remembering to angle the tips of your nails 'up' slightly in order to make sure the UV light can 'see' your edges.  Cure for 2 minutes.


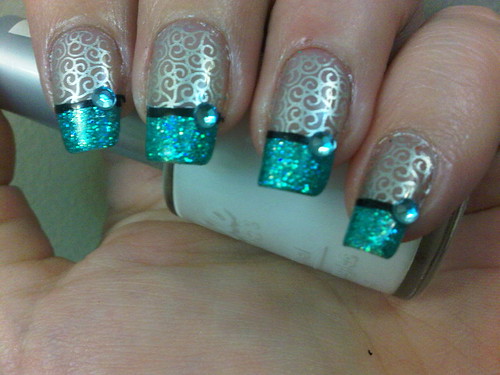
Always remember to cap your free edge as above on all coats.  Apply a second coat of colour and cure for 2 minutes.  A third coat may be necessary so use your own judgement if your polish looks blotchy or streaky.  After curing each coat your nails will be gummy or tacky so do not touch anything with them!


After your final coat of colour, apply a thin layer of Gelish Top It Off, cap your edges, clean up excess and cure for 2 minutes under the UV lamp.


When your top coat has finished curing, take a lint free wipe soaked in Isopropyl Alcohol (not acetone) and scrub the tacky layer off your nails.  Repeat all the steps with your other hand and you're done!  **IMPORTANT - Remember to keep your hands and nails moisturized afterwards and be especially attentive to your cuticles by using cuticle oil regularly.


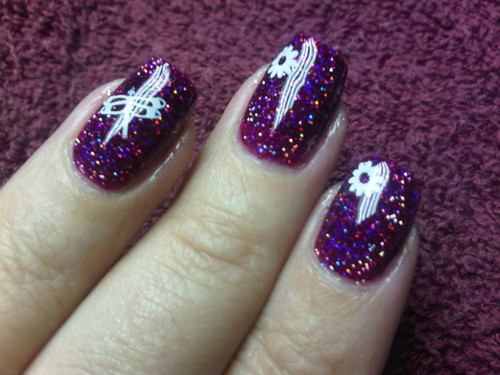
Your manicure should last at least 14 days chip-free if not longer.  You can paint and Konad with regular nail polish right on top of the gel manicure and remove it with non-acetone remover.  It will not affect the gel manicure and your shiny top coat will still look good as new as long as you use non-acetone remover.  It's still a good idea to use a regular base coat underneath the polish since some polishes like flakies or glitters, or even ones that stain can embed themselves in the gel.

Removal:


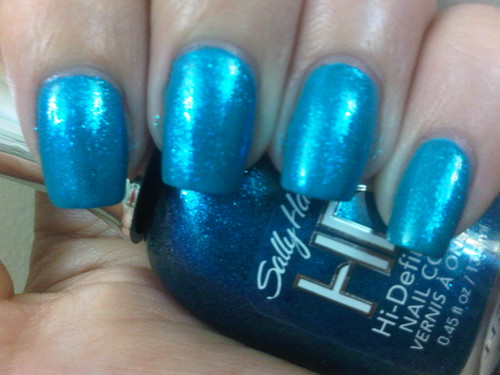
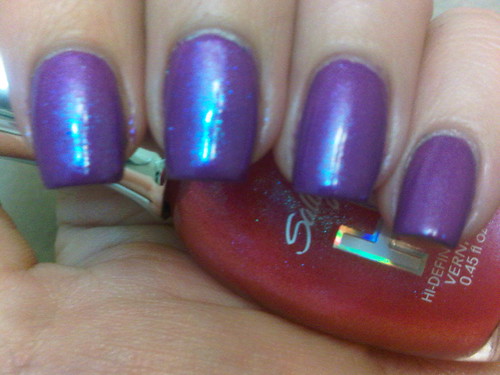
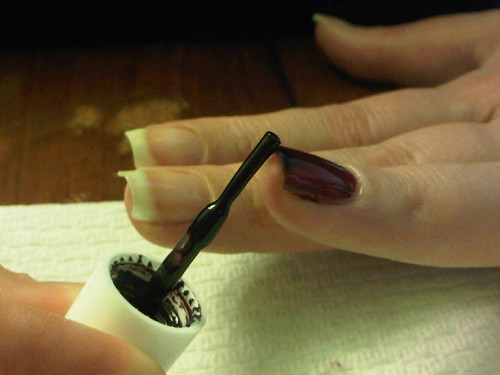
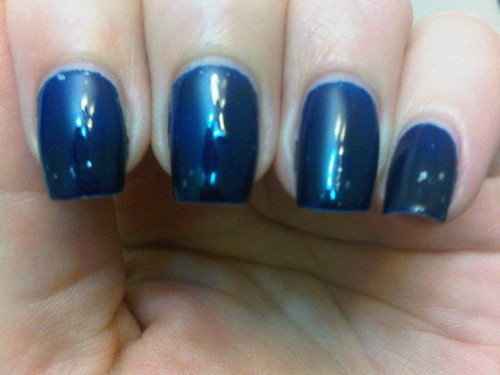
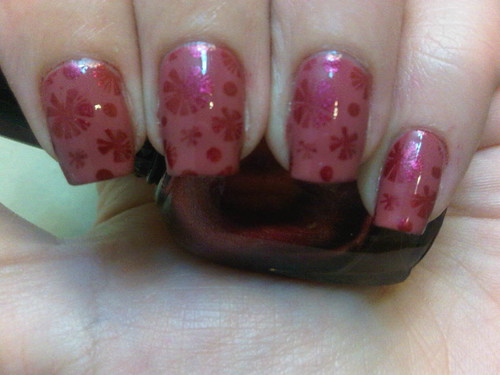
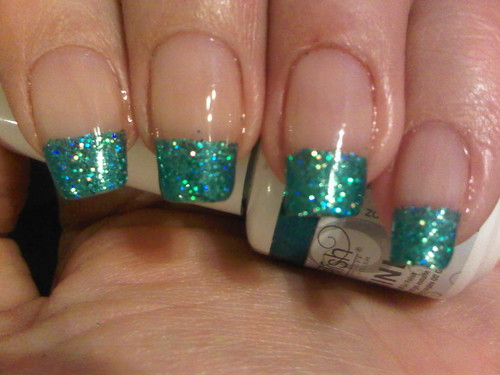
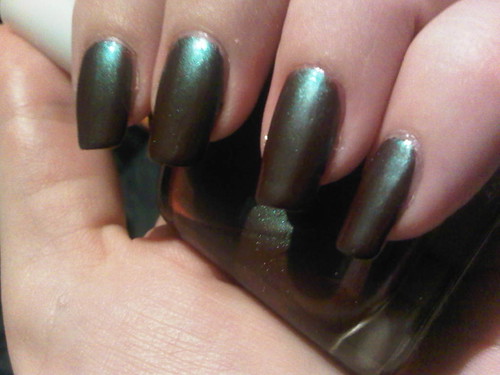
This photo is after 12 days of wear of my previous soak off gel mani.  Chip free and not bad regrowth for almost 2 weeks.  You can see that I wore a flakie polish and wasn't able to remove it all so I decided to remove the gel a bit early.


This step is completely optional depending on how comfortable you feel filing the surface.  I just take the shine off with a light swipe of the file.  I feel that it speeds up the removal a bit, but it's not necessary.


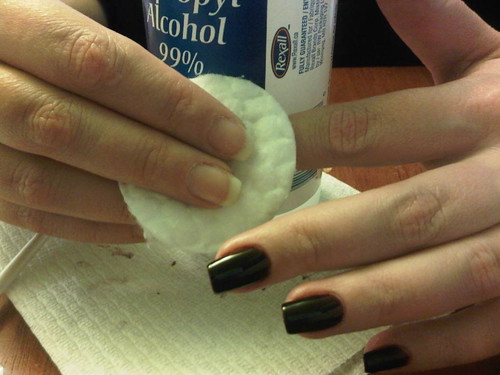
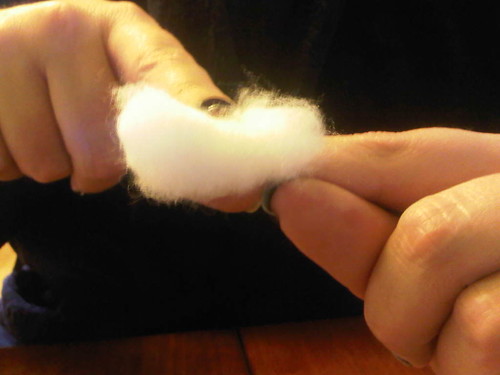
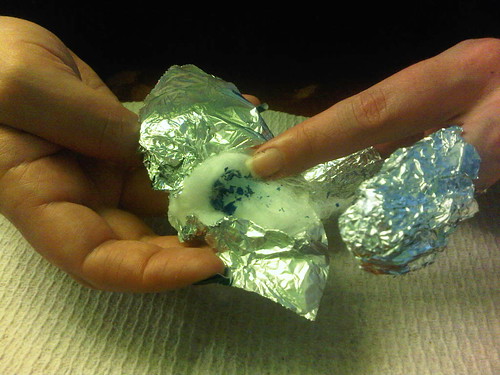
Douse a cotton ball with 100% acetone and place on nail.


Wrap a piece of tinfoil around the finger to hold the cotton ball securely in place.  Repeat with all five nails.


Optional - You can use a SLIGHTLY warm Magic Bag over your fingertips to help speed up the process as well.  Be very careful not to heat the bag too much as acetone + tinfoil + heat = burn!


Wait 15 minutes and twist off foil covered cotton balls one by one.


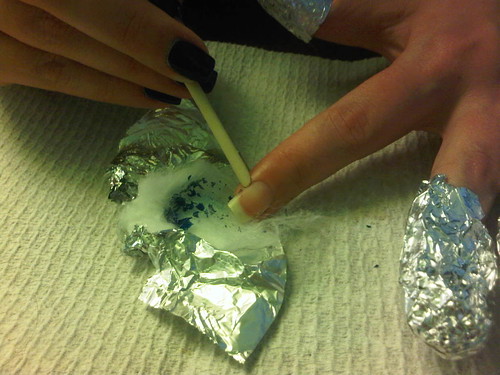
Any excess gel left on the nail plate can be gently pushed off with an orange stick.  If needed, take some acetone on a cotton ball for a final swipe clean.


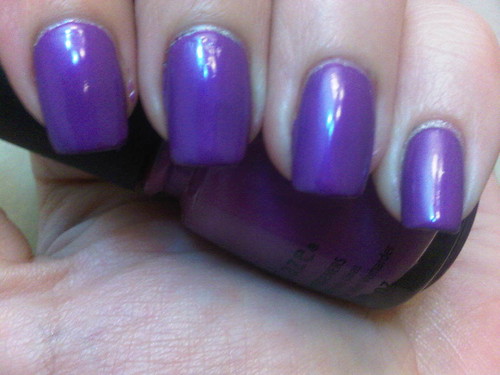
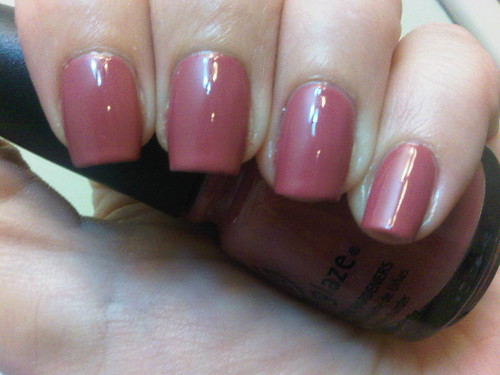
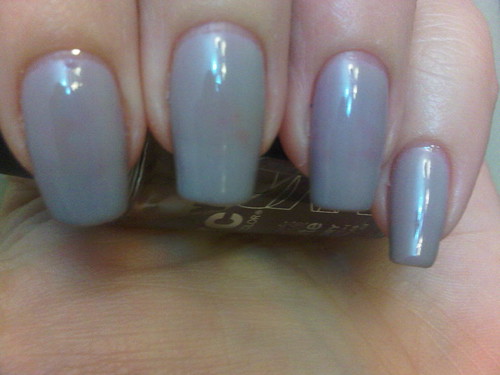
These are my own natural nails after having done 15 soak off gel manicures since I bought my system back in September.  Slightly dry from the acetone but no damage.  Since September my nails have had maybe 5 days in total that were soak off gel free.  You can see my nails are not damaged at all and in fact they are much whiter and look amazing compared to what I started with before the soak off gel obsession.  If you need a reminder of how terrible my nails were back then: pre soak off nails

I now swear by these soak off gel polishes.  They add a bit of reinforcement to my weak nails and I never have to leave the house with chipped polish even if I'm rushing out at the last minute.  It allows me to be a little more experimental with nail art without compromising the manicure underneath.  It's helped me get my natural nails back a to a nice healthy white and all of that is worth 10 times the investment I've made into the system.

Now clearly I mix brands and methods here so I'm not advertising for any companies and I've paid for all my own supplies, but I just can't stress enough how awesome soak off gel polishes are.  If you give it shot, let me know how you make out.

Later
P

Wednesday, February 15, 2012

Another Nfu Oh layered gel mani

Ever since I tried water layering with Nfu Oh 61 I have been dying to try it over a really dark colour.  When I did my gel mani in Midnight Affair I knew it was the perfect underwear for it!


Just a reminder on how I did the water layering: Just one drop of Nfu Oh 61 spread out evenly int he water and dip.  This is pretty friggen awesome!


The funny thing I've found about doing the water layering is that a top coat actually enhances the holo instead of diminishes it.  I can't stop staring at the rainbows on my nails!

I've been steadily working on a soak off gel tutorial.  I've had a couple of requests for it and I notice that about 80% of my hits come from searches for Gelish or Shellac. I've almost got the tutorial completed so I should have it up by the end of the week.

Later
P

Monday, February 13, 2012

Onto the next sog

Sog = Soak off gel :)

After taking a one day break between gel manis here's the next colour:


Red Carpet Manicure in Midnight Affair - 2 coats.  I could have actually used a third coat but I was afraid it would look too black and I really wanted it to be more blue.  I do like this one a lot however it was a major pain to apply.  The only reason being that imperfections are more visible with the dark colours and I'm so anal with my gel manicures.  Ugh.  Love the colour but it really looks like shit.  I could not get clean lines no matter what I did.

So to cheer myself up I went shopping after I did this manicure.


My local Dollar Giant has some new Billie polishes and I picked up a few.  From L-R:
Cosmic - frosty blue with irridescent glitter
Blue - Surprising satin finish
Light Mauve - more like a pinkish lavender, creme polish, nothing special
Mauve - Amazing vibrant purple (NOT Mauve!) with an awesome satin finish
Purple
Claire's Magnetix with no labels in pink and silver (which I've previously posted about)


Wow what a shitty photo this turned out to be.  I found these all marked down half price at my local Zehrs.  From L-R:
Sally Hansen HD in Laser, LCD and Spectrum
Nicole By OPI in Me + Blue and I'm a Belieber

It's been quite awhile since I had a haul this size and it feels good lol.

Later
P

Friday, February 10, 2012

Ah, I can type again...


This is 2 coats of China Glaze Fifth Avenue with a coat of Seche Vite.  Not my typical kind of colour but I don't mind the dusty pinks sometimes.  I'd picked it up when Sally's had a 3/$12 sale and it was sitting in my drawer forever.


I stamped it with Kleancolor Metallic Red and plate BM213.  I've used this colour combo before and I like it but I'm not fond of the design.

And yes, I'm taking a very short break from the soak off gels :)  I need to remember to take a photo of my nice white, undamaged nails.

Later
P

Wednesday, February 8, 2012

Too friggen long!

Two last swatches before my nails hit the chopping block:


Color Club's Beyond The Mistletoe.  I'm pretty sure this is 4 coats.  I needed that many in order to hide the mani underneath!  It also took 2 coats of Seche Vite on top and then it literally peeled off in sheets 2 days later.  Well at least it wasn't a pain to remove like glitter normally is.


I also picked up Revlon's Whimsical when Walmart had them on sale last month.  This is 5 coats!!!! If I ever wear this again I will be using it over a solid base.  I did not like this polish much on it's own.  I just finished getting my nails perfectly white again and it seemed like this polish gave the appearance of stained nails underneath.  I like it much better in this photo than I actually liked looking at it on my nails.

So why did I trim my nails down to shorties again?  Well my little niece just turned 2 and it's friggen impossible to cake decorate with those claws.  So here's the reason I cut them:


More Tinkerbell.  I even bought her some Tinkerbell nail polish for her birthday.  Abby likes Aunti P to paint just her 2 index fingers and calls it 'cool'.

Later
P

Monday, February 6, 2012

Playing with plates

So I'm really liking this rockstar french and I don't really want to paint over it.  But I'm okay with stamping over it, or around it...


This is terrible but I was just trying some different things.  I stamped with Pure Ice Silver Mercedes and plate BM201.  Then I defined the line with black striping polish and finished with a light blue gem.  This lasted 10 seconds before I took it off.

Now this one I actually liked:


I'm not usually a fan of the animal print designs but I liked this because it doesn't really diminish the glitter underneath.  I used Wet and Wild Black Creme with BM219.  This one I wore for a few days.

Later
P

Friday, February 3, 2012

Rockstar french

I have been dying to use the holographic craft glitter I bought in Buffalo before xmas.  So finally I had some extra time set aside to use it and I decided on a rockstar french.


My terrible Blackberry camera just cannot do this justice.  I did try the dry glitter once with regular polish and it was a disaster.  Unfortunately there's a very fine line between 'wet enough to stick' and 'dry enough not to smudge' with regular polish.

With the soak off gels you always have a tacky layer after curing so glitter will always stick without ruining your base.  So here's how I did this:

One thin coat of Shellac Base coat - cure for 10 secs
One thin coat of Shellac in Negligee - cure for 2 mins
Wipe off tacky layer completely with rubbing alcohol
Paint tips only in Gelish Oocha Coocha (teal glitter) - cure for 2 mins
Brush glitter on tips using an acrylic nail brush
Press glitter down on nails using paper towel
Sweep over nails with a clean brush to remove any stray glitter
One coat of Gelish Top It Off top coat - cure for 2 mins
Another coat of the same - cure for 2 mins
Wipe off final coat with rubbing alcohol

The whole process takes about an hour and a half but totally worth it.


Even Seche Vite does not give me that much shine.  My experience with past glitter-scrub manicures is that they only last half the time.  I have higher hopes for this one.  My last gel mani - the Red Carpet Manicure in Violetta Darling only lasted 7 days...boo.  It's really too bad that soak off gel polishes are fairly inaccessible and expensive here.  I'm not really complaining that much though since the investment has paid itself off at least twice over by now.

Later
P

Wednesday, February 1, 2012

Shadow franken

First order of business - L'Oreal Fanatic Fuschia from my last post is going in the garbage and here's why:


Totally ruined my gel manicure.  It' ok though, I won't cry over throwing out a pink polish ;)

So here's something that made me feel better about it:


Back in July when I last saw Megadeth (I'm seeing them again next week!) I had picked up this wicked eyeshadow at a perfume outlet in Toronto.  It was an old L'Oreal Hip Shocking Shadow Pigment in Intrepid.  I had always intended to use it in polish but hadn't gotten around to it until now.


It's got a nice deep dark brown/plum base with an amazing teal shimmer.  I mixed it with some clear polish and applied 2 coats.  Pretty awesome.

Later
P